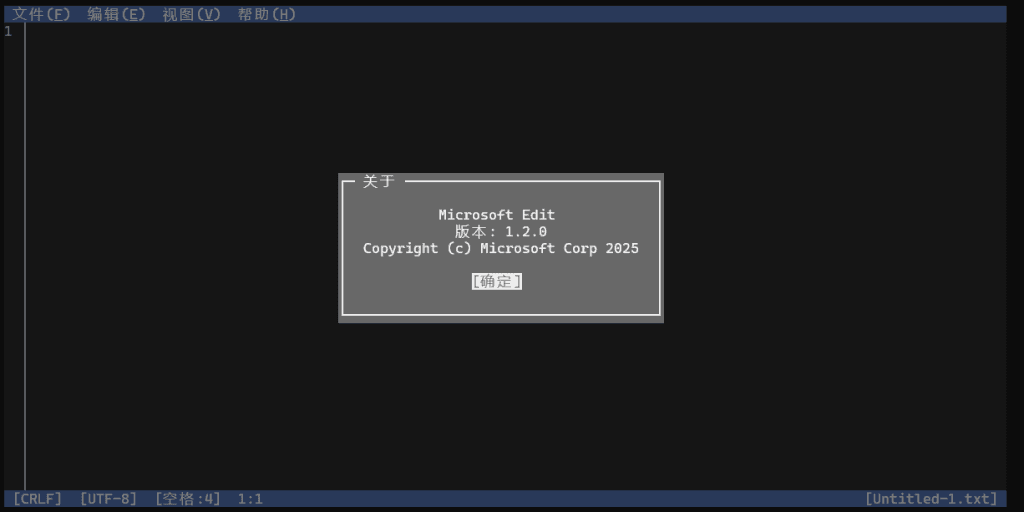
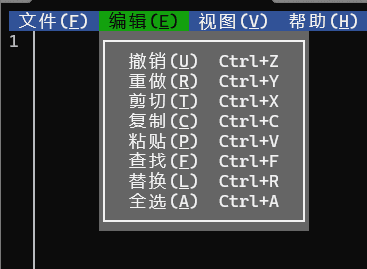
New File:Ctrl+N Open File:Ctrl+0 Save:Ctrl+s Close Editor:Ctrl+W Exit:Ctrl+Q Undo:Ctrl+Z Redo:Ctrl+Y Cut:Ctrl+x Copy:Ctrl+c Paste:Ctrl+V Find:Ctrl+F Replace:Ctrl+R
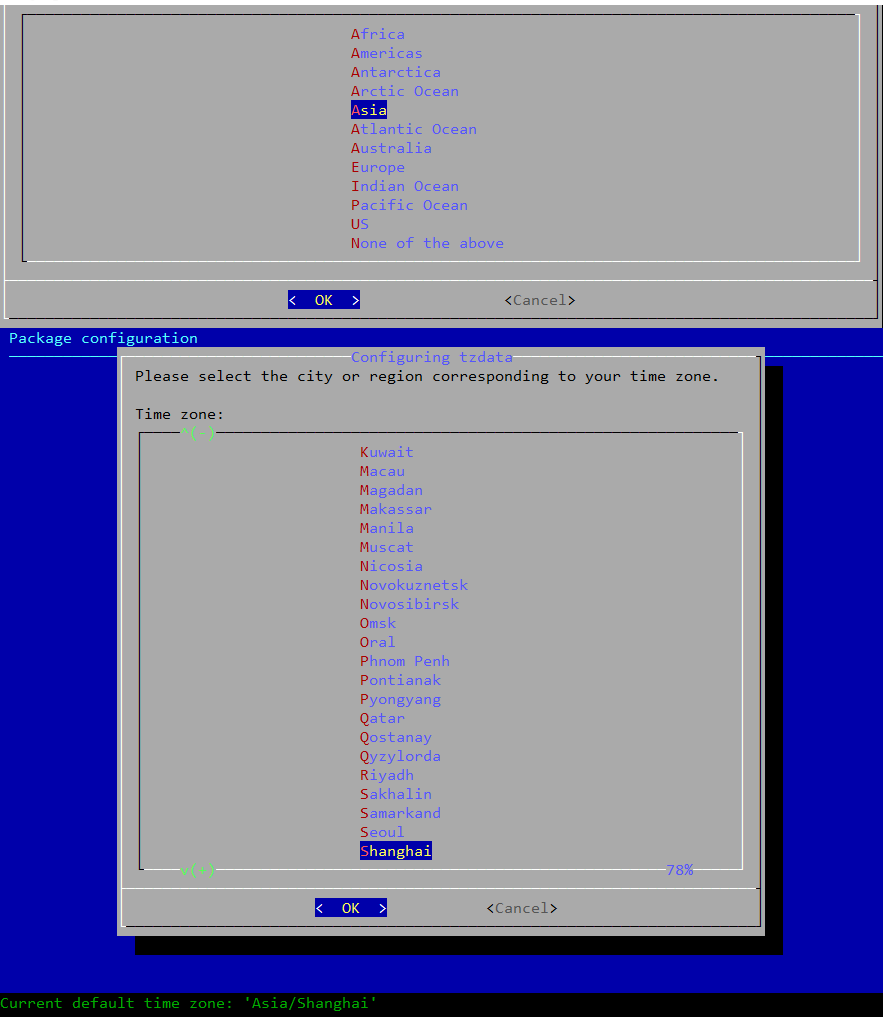
 timedatectl status
               Local time: Sat 2024-09-14 21:56:01 CST
           Universal time: Sat 2024-09-14 13:56:01 UTC
                 RTC time: Sat 2024-09-14 13:55:53
                Time zone: Asia/Shanghai (CST, +0800)
System clock synchronized: no
              NTP service: n/a
          RTC in local TZ: no
timedatectl status
               Local time: Sat 2024-09-14 21:56:07 CST
           Universal time: Sat 2024-09-14 13:56:07 UTC
                 RTC time: n/a
                Time zone: Asia/Shanghai (CST, +0800)
System clock synchronized: no
              NTP service: n/a
          RTC in local TZ: no
% Appropriate date and time representation for date(1). This is % different from d_t_fmt for historical reasons and has been different % since 2000 when date_fmt was added as a GNU extension. At the end % of 2018 it was adjusted to use 12H time (bug 24046) instead of 24H.
Err:5 https://packages.microsoft.com/debian/12/prod bookworm InRelease The following signatures couldn’t be verified because the public key is not available: NO_PUBKEY EB3E94ADBE1229CF
W: An error occurred during the signature verification. The repository is not updated and the previous index files will be used. GPG error: https://packages.microsoft.com/debian/12/prod bookworm InRelease: The following signatures couldn’t be verified because the public key is not available: NO_PUBKEY EB3E94ADBE1229CF
deb [arch=amd64,arm64,armhf signed-by=/usr/share/keyrings/microsoft-prod.gpg] https://packages.microsoft.com/debian/12/prod bookworm main
② Hit:6 https://packages.sury.org/php bookworm InRelease
W: https://packages.sury.org/php/dists/bookworm/InRelease: Key is stored in legacy trusted.gpg keyring (/etc/apt/trusted.gpg), see the DEPRECATION section in apt-key(8) for details. W: Failed to fetch https://packages.microsoft.com/debian/12/prod/dists/bookworm/InRelease The following signatures couldn’t be verified because the public key is not available: NO_PUBKEY EB3E94ADBE1229CF W: Some index files failed to download. They have been ignored, or old ones used instead.
先测试一下,打开两个子系统(顺序是先kali,再Debian),ssh登录22端口,连到的是第一个打开的子系统kali。再修改子系统kali的ssh端口到2022,再连22端口,连接失败,sudo service ssh restart 重启子系统Debian的ssh服务,再连22端口,Debian就连上了。这样两台子系统就可以同时ssh登录。